Where the Warmth Goes: A Ten-Minute Thermal Walkthrough for UK Homes
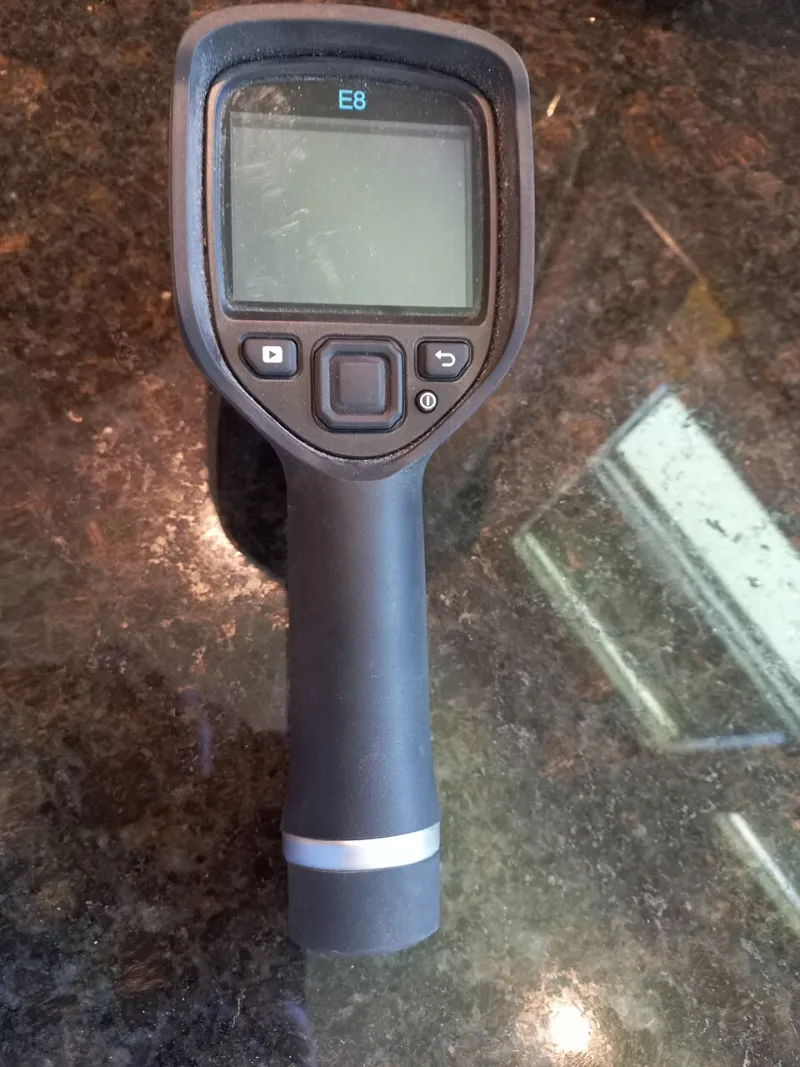
Photo: Asurnipal, CC BY-SA 4.0, via Wikimedia Commons
By early November, most UK homes have made the seasonal switch from occasional heating to daily operation. That shift makes autumn the most useful moment for a thermal audit: the heating system is running, the outdoor temperature is falling, and small defects are easier to see than in the depths of winter, when everything is cold for longer and condensation can mask the underlying pattern.
The audit described here is deliberately short. It is not a substitute for a full building survey, an EPC assessment or a room-by-room heat-loss calculation. It is a ten-minute walkthrough, repeated each autumn, that uses a thermal camera and smart thermostat data to answer three practical questions: where is heat escaping, where is the heating system failing to distribute warmth evenly, and where is condensation likely to become a maintenance problem?
Why ten minutes is enough
Thermal cameras have become cheaper and more usable, but the limiting factor is rarely the equipment. It is the absence of a baseline. A single image of a cold wall proves little on its own. A repeatable route through the house, taken under similar conditions each year, turns those images into evidence.
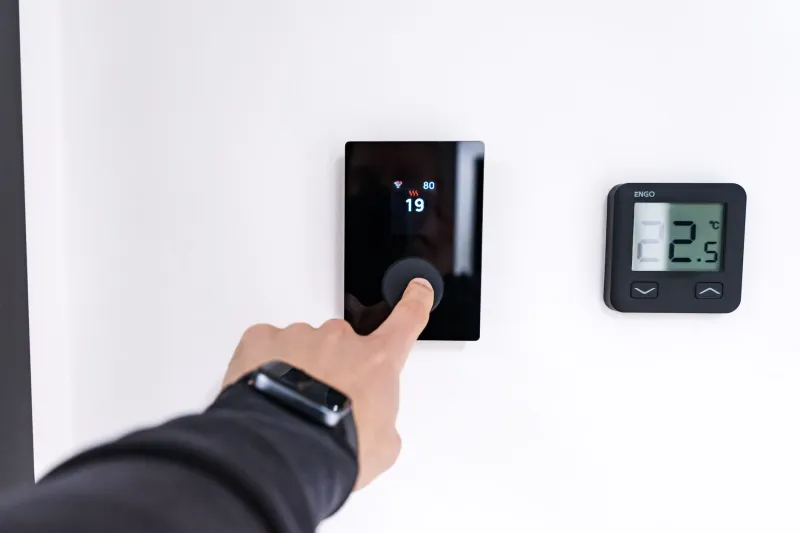
The same applies to smart thermostat data. Most systems record room temperature, setpoint, call-for-heat and boiler cycling. That history is more valuable than a single reading because it shows how quickly a room responds, how far it overshoots, and whether the boiler is short-cycling when only one room calls for heat.
Set the scene before switching on the camera
Run the heating until the main living areas have been at a steady setpoint for at least an hour. Record the outdoor temperature and the boiler flow temperature if the system displays it. Close external doors and windows, but do not seal trickle vents; the audit should reflect normal occupancy.
Set the camera emissivity to around 0.95 for plaster and painted surfaces, and adjust for brick or bare timber where necessary. Shiny surfaces, radiators with reflective panels and windows reflecting the sky can all mislead. Treat the camera as a guide to temperature difference, not a precision thermometer.
The room-by-room route
Entrance hall and external doors
Start at the coldest side of the house. Look for cold streaks at the base of the front door, around the letterbox, at the frame and along the junction between the floor and skirting. In Victorian terraces, suspended timber floors often produce a distinct cold band that is as much a draught path as an insulation defect. Note whether the cold line is continuous or localised: a continuous band suggests a missing draught seal, while a cold patch beside the door may indicate a gap behind the frame.
Living room
Check the radiator from top to bottom. A radiator that is warm at the top and cool at the bottom is more likely to be sludged or poorly balanced than undersized. A radiator that is uniformly warm but the room still feels cold points to heat loss at the exterior envelope, often around bay windows, chimney breasts and alcoves.
Use the smart thermostat history to compare the room's response rate with the hallway. If the living room takes much longer to reach setpoint, note whether the radiator valve is throttled, the lockshield is closed, or the room has a higher heat loss. The camera shows surface temperature; the thermostat data shows system behaviour.
Kitchen
Kitchens are prone to false readings because cooking, extraction and under-sink pipework all distort the picture. Run the extractor fan and look for cold air entering around the extractor duct or backdraught shutter. Check the cold-water pipe route and the seal around the sink. In older homes, a cold patch under a cabinet may be a bridged cavity or a missing section of floor insulation.
Bedrooms
Bedrooms often reveal the most useful thermal bridging. Look at external wall corners, window reveals and the junction between the ceiling and external wall. In 1930s semis, the bay window and the hipped roof junction are common weak points. In new-build flats, cold bridges around balcony connections and steel lintels can appear as sharp linear patterns.
Bathroom
Bathrooms combine warmth, moisture and cold surfaces. Use the camera after a shower has cleared, not during it. Look for cold patches around tiles, sealant and external walls. A surface that is below the dew point for the room's temperature and humidity is a condensation risk, even if it feels dry at the time. Extractor performance matters here: a weak fan leaves moisture in the air, and the coldest surface becomes the place where it condenses.
Loft hatch and wall junctions
If the loft is accessible, check the hatch perimeter and the insulation at the eaves. A cold line around the hatch is common and usually straightforward to fix. At wall junctions, look for a continuous cold band that follows a structural line. That pattern often indicates thermal bridging rather than a draught.
What the readings mean in different UK house types
Victorian terraces
Solid walls, sash windows and chimney breasts create unavoidable cold surfaces. The aim is not to eliminate every cold patch but to distinguish normal solid-wall behaviour from water risk. Condensation on a cold wall is a warning; a cold wall that stays dry is a known characteristic. Chimney breasts are often the coldest internal surface in the room and should be checked for damp staining as well as temperature.
1930s semis
Cavity walls may or may not be filled, and the cavity closure at window and door openings is a frequent weak point. Bay windows, hipped roofs and rear extensions often show uneven insulation. Thermal images here are most useful for spotting missing or slumped insulation rather than for judging the wall as a whole.
New-build flats
Airtightness and mechanical ventilation change the picture. Draughts may be less obvious, but thermal bridging and overheating risk can be more significant. Cold linear patterns around structural connections should be recorded and, if persistent, raised with the builder while warranty cover remains. Do not assume that a new build has no thermal defects; assume that the defects are different.
From images to a short action list
Prioritise water risk first: any surface below dew point that stays wet should be investigated before cosmetic issues are addressed. Next, tackle obvious draughts at doors, windows and loft hatches. Then look at radiator balance and control settings. Finally, compare the smart thermostat's room response graphs before and after any change.
Keep the images, the outdoor temperature, the boiler flow temperature and a short note of what was changed. A ten-minute audit repeated each October becomes a record of the building's behaviour, not just a set of colourful pictures. In 2026, with variable tariffs and a wider range of heating controls available, that record is useful when briefing an installer or deciding whether a fabric improvement is worth the spend.