When a Thermal Image Lies: Emissivity, Angles and the Radiators That Fool a Camera
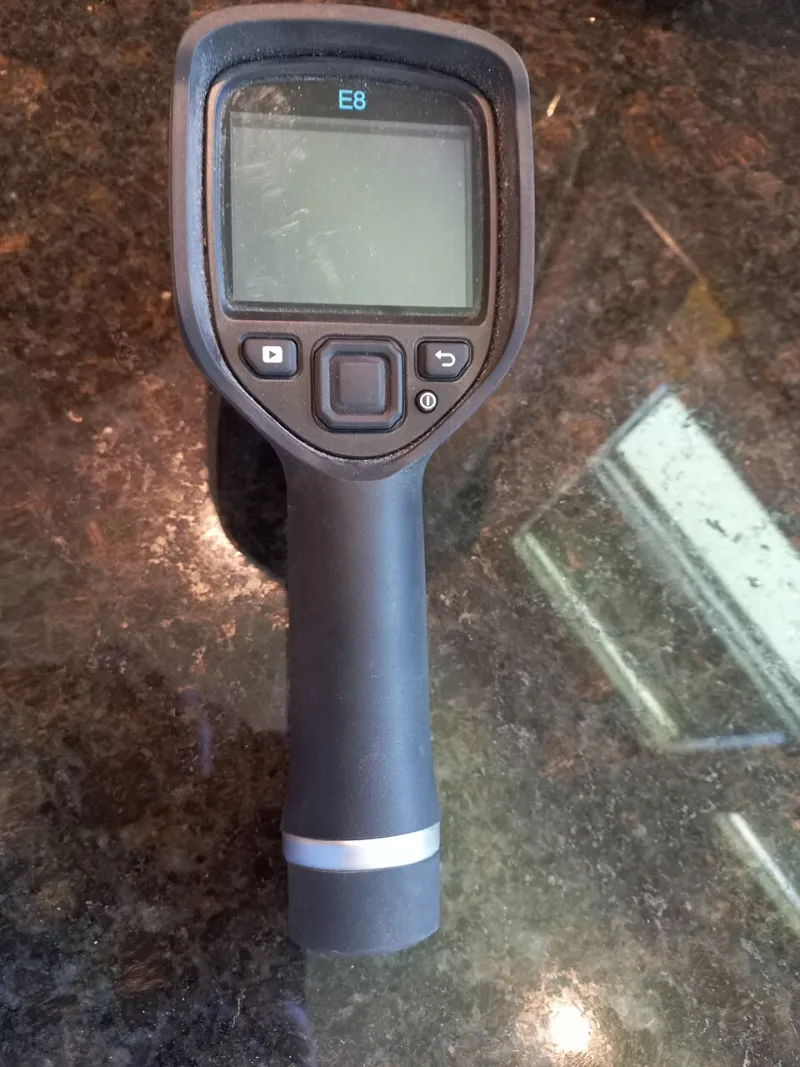
Thermal cameras have become affordable enough that many UK homeowners now use one before calling a heating engineer. That is broadly good news. But an infrared image is not a photograph of temperature; it is a measurement of radiant energy, translated by assumptions. When those assumptions are wrong, the camera will still produce a confident, colourful picture — and that picture can send you chasing the wrong problem.
Why emissivity changes the number, not just the colour
Every surface emits infrared radiation according to its emissivity, a value between 0 and 1. A matt black surface close to 1 is an efficient emitter. Polished metal can be below 0.1. Most thermal cameras default to an emissivity of around 0.95, which suits painted walls, plaster, wood and most building fabrics. It does not suit chrome towel rails, unpainted copper pipework, stainless steel flues or some low-e coated radiator panels.
If the camera assumes 0.95 but the surface is shiny, it overestimates the emitted radiation and can report a temperature that is too high or too low depending on reflected background. More often in a domestic setting, the shiny surface acts as a mirror for the room. A chrome radiator may appear at room temperature because the camera is reading reflected ceiling and wall radiation, not the water inside. The image looks plausible; the diagnosis is wrong.
Radiators: paint is your friend
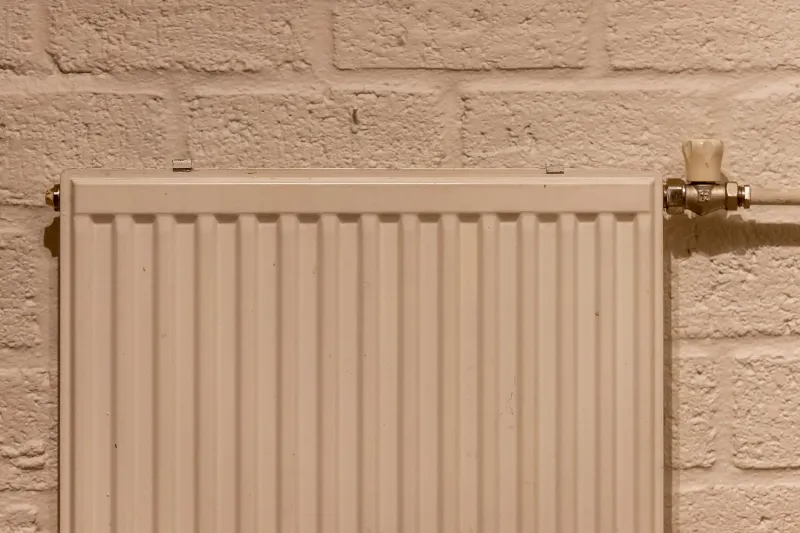
Painted mild-steel radiators usually behave well. The trouble starts with chrome towel rails, polished stainless steel columns, metallic finishes and some specialist low-emissivity panels. Before condemning a radiator as cold, apply a piece of ordinary matt electrical tape to a representative section, wait a few minutes for it to reach surface temperature, and set the camera to the tape's emissivity — usually about 0.95. Compare the tape reading with the adjacent metal. A large difference tells you the metal reading is suspect, not necessarily the radiator.
Angle matters too. Try to view surfaces within about 30 degrees of perpendicular. At a steep angle, the camera sees more reflected radiation from the surroundings and less direct emission. A radiator photographed from the side of a room can look cooler at one end simply because of geometry. Keep the camera square to the panel and compare like with like.
Windows and glazing: read the surface, not the story
Glass is effectively opaque to long-wave infrared, so a thermal camera reads the surface temperature of the pane, not the room beyond. That is useful, but it is easy to over-interpret. Low-e coatings, blinds, curtains, solar gain and reflections from the sky all affect the apparent temperature. A cold band at the edge of a unit may be a spacer bar or frame detail rather than a failed seal. Conversely, a warm patch can be reflected sunlight.
Use a reference: a strip of tape on the frame and on the glass edge, plus a contact thermometer on the frame, helps separate real cold bridging from reflection. For windows, the most reliable domestic check is still a combination of surface temperature, draught detection and a close look at condensation patterns. The camera narrows the search; it does not replace the investigation.
Spot size and distance: small pipes need respect
Every camera has an instantaneous field of view. If the target is smaller than the measurement spot, the camera averages it with the background. A 15 mm heating pipe viewed from across a room is a classic false reading. Move closer, use a close-up lens if available, or place tape on the pipe and fill the spot with the tape. The same applies to radiator valves, TRV bodies and narrow window frames. A wide-angle image is useful for context; a tight spot is useful for measurement.
Reflected temperature and the room around you
Many cameras allow you to set reflected temperature. In a domestic room, that is roughly the temperature of the surfaces the target is reflecting. If you are measuring a shiny surface near a cold window, the reflection may be cold; near a radiator, it may be warm. A simple cross-check with a contact thermometer on a matt reference surface in the same room gives you a sanity check. Do not measure immediately after a heating cycle changes, either. Allow the system to stabilise, and record whether the boiler or heat pump is running.
A practical cross-check routine
Set emissivity to 0.95 for painted and matt surfaces. For shiny metal, apply tape and measure the tape. Keep the camera within 30 degrees of normal. Fill the spot with the target. Note reflected temperature where the camera supports it. Then confirm the reading with a contact thermometer on a comparable matt surface. If the camera and contact probe disagree by more than a degree or two, trust the contact probe for absolute temperature and use the camera for patterns and relative differences.
The point is not to distrust thermal imaging. It is to use it as a diagnostic instrument with known limits. A camera that reports a chrome towel rail at 19°C while the flow pipe is at 50°C has not found a faulty radiator; it has found a low-emissivity surface. Correct the method, and the colourful image becomes evidence rather than decoration.